Thursday, August 23, 2012

Growing Luffa ~ Loofah ~ Lufah

Luffa
From Wikipedia, the free encyclopedia

The luffa, loofah, or lufah (from Arabic ليفة līfah) are tropical and subtropical vines comprising the genus Luffa, the only genus of the subtribe Luffinaeof the plant family Cucurbitaceae. The fruit of at least two species, Luffa acutangula and Luffa aegyptiaca (Luffa cylindrica), is grown, harvested before maturity, and eaten as a vegetable, popular in Asia and Africa.

The ripe, dried fruit is also the source of the loofah or plant sponge.
Luffa species are used as food plants by the larvae of some Lepidoptera species, including Hypercompe albicornis.

Parts of the plant are used to create bath or kitchen sponges, a natural jaundice remedy, furniture and even houses. The term is also used to describe synthetic bath tools that serve the same purpose.

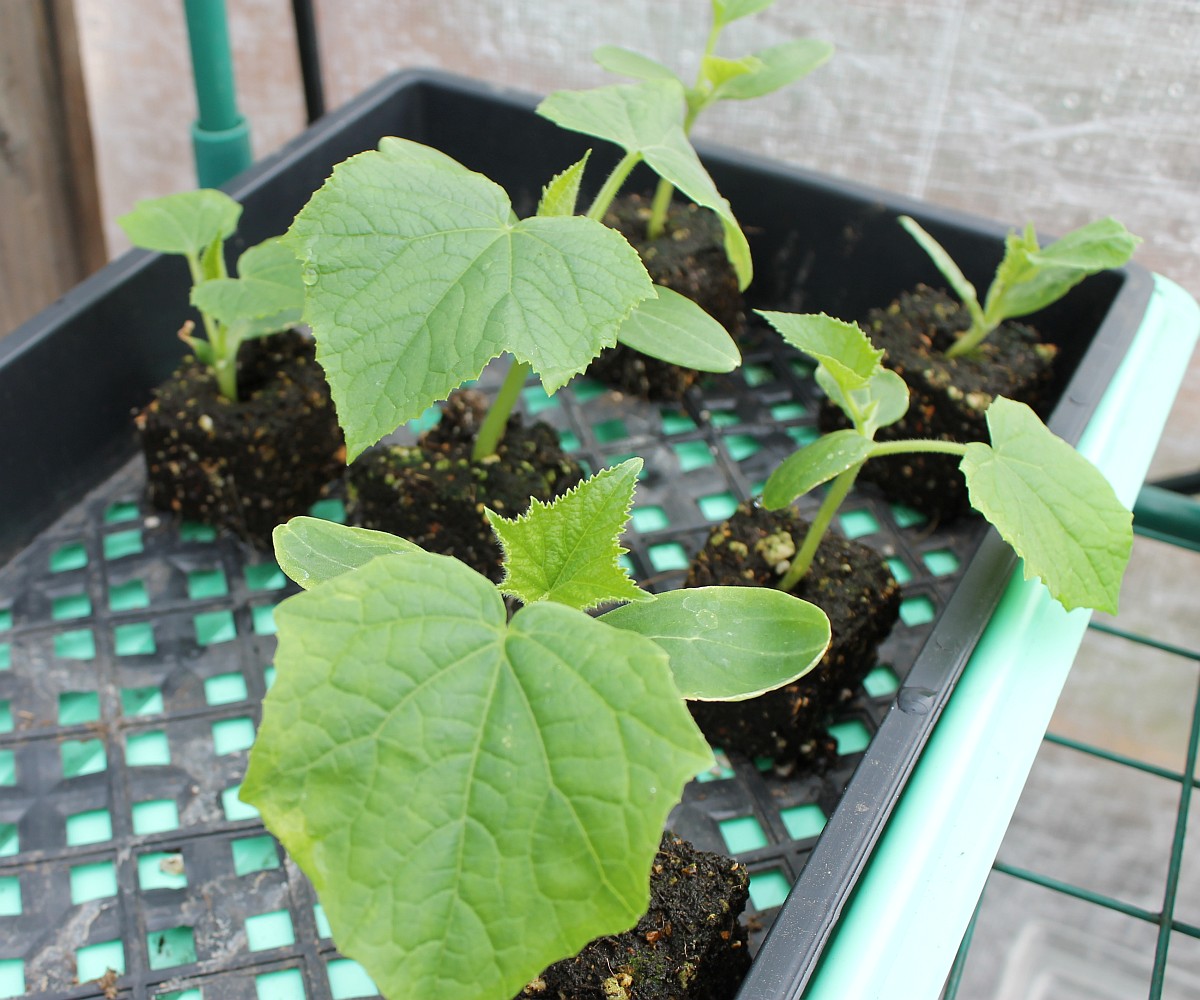
 Growing luffa gourds for my first time this season I didn't think I would have much success with the slow start to our summer with temperatures in the 60's and 70's in June and the first half of July.... so here is my experience so far....

The Luffa vines are known to grow very large, up to 30 feet and since I don't have a large garden I wondered if I could contain the vine in a small space. I setup one of my medium cucumber trellises in bed 3 to support the vines giving me 4 feet of vertical and 3 feet of horizontal space to grow on.

The seedlings started out very slow as the roots developed but once they took hold and the weather started to warm the plant growth picked up. Since I had to control the size of the plant due to space constraints I wasn't sure the vine would produce many gourds. I'm happy to report I have six very healthy gourds ranging from 12 to 15 inches in length.

Below is a pictorial of my setup and the stages of growth so far.

Luffa vine sharing the trellis with a unknown melon that taste like a cantaloupe. At this point in the growth I have not yet trimmed back the vines.
June 21, 2012 

Male flowers.
Each stem has a cluster of buds with one
flower blooming at a time.
June 21, 2012

In this photo you can see the buds as this bloom starts to fade. These flowers are to bees and wasps as catnip is to cats. It is amazing to see so many pollinators on this plant.
June 28, 2012

First gourd as of June 28th

Female flower just starting to open on June 28th.
I never let the vines get much longer than this. Keeping the tips trimmed off knowing this would limit how many gourds the vines would produce.  Since this was an experiment I was OK with six gourds this time around. Also if you click on the photo to enlarge you can see the unknown melon.
Aug 4, 2012

Male flower
Aug 5 2012

Bed 3
Aug 13, 2012

Luffa gourds as of Aug 17th

Aug 17, 2012
These will be harvested once the gourds start to dry or once the skin pulls away easily from the gourd exposing the fibers we know as the luffa sponge. I will post again once I have gone through the harvesting process.

Thursday, July 12, 2012

July Garden

July Garden Tour


This hollyhock is a volunteer that sprouted up in my front yard in the shade. For the past two years it would give me one stock of blooms. I moved it into the backyard hoping it would take and thinking I would get blooms next year. I think it is safe to say it's very happy in it's new home.

Tomato 


I planted quinoa for the first time this year. I wanted to see if I could grow it and how much of a yield I would get from each plant. I planted 4 starts in one square foot. They really like our warm days and cool night. I will be able to harvest by Sept.

Quinoa

Tomato

Cherry tomatoes

Hollyhock

Bed 3

Front of bed 3

Watermelon in bed 4


I saved some seeds from a unknown heirloom melon two years ago. I planted a few in soil blocks back in Feb not thinking it would grow. There is a baseball size melon and a few more marble sized melons now growing in bed 4.


Last year was a total bust for cucumber but not this year. I think this is my best year yet for cucumbers.

Last year one of the squirrels acquired a taste for zucchini. Well he is back for more this year. I have only harvested one that was hidden.


Bed 4

Cherry tomato

The July Garden

Thursday, March 15, 2012

A Walk in the Garden

We had a break in the rain today so I took a walk in the garden and took a few photos. I love how everything looks so green after a rain. You can click on the photos to enlarge them.

Enjoy

Spinach

Avocado 

Basil in the greenhouse

Turnips and Broccoli

Bed 3

Blueberries

Cucumbers in the greenhouse

Passiflora  mixed in with the Hardenbergia Violacea

Passiflora

Alyssum

Nectarine

Oregano

Raspberries

Sugar Snap Peas

Carrots

Sunday, March 11, 2012

Organic Pest Control Remedies

This is a great time to start thinking of pest control.

We should only use pest control when absolutely necessary. It's best to have a healthy mix of good and bad bugs in the garden. When you fight off all the bad bugs, the good bugs will leave your garden in search of food (lady bugs being one of them). So only use pest control when the good bugs and birds are losing the battle.

Wakeup World posted a great list of Organic Pest Control Remedies to help arm us. 

I hope you find this information helpful.


~ Happy Gardening ~

Saturday, March 10, 2012

Not in the Plan

I'm the type of person that has lots of ideas for projects in the garden and in the house, but I have to be in the mood to work on them, so when the mood strikes I have to go for it. Today's plan was to do some seed starting as well as adding shut off valves to beds 2, 3, and 4.

I went to the hardware store and picked up the valves and other parts that I needed to install them and made my way home. I pulled out all  of my tools and started the water line project... well that was the plan.

While I was figuring out how to add the valves I kept thinking how I wanted to redo the square foot grid on the beds. The current grid is just not working for me. I don't like the way they look and I'm always moving them when I don't mean to.


Before I knew it I was at Home Depot picking up 1x1's.


I installed the shut off valve on bed 4...


... and then removed the old grid, leveled out the bed, and put the drip lines back in place.


I cut the 1x1's and laid out the grid...


Now I just need to secure the grid to the bed. That will be tomorrow's project as well as updating beds 2 and 3 with the new grid.


OK I feel better now. The new grid is just what I wanted and looks much nicer.


Seed starting tomorrow for sure... right?

~Happy Gardening~